
Affiliate Disclosure: As an Amazon Associate I earn from qualifying purchases. This means that if you click on a link and make a purchase, I may receive a small commission at no extra cost to you. I only recommend products I personally use or believe will add value to my readers.
The Complete Science-Backed Guide
Introduction: The Viral Jewelry Cleaning Hack That Actually Works
The aluminum foil jewelry cleaning method has exploded across social media platforms, accumulating millions of views and shares. Unlike many viral “life hacks” that disappoint in practice, this technique delivers genuine results backed by solid chemistry. The seemingly magical transformation of heavily tarnished silver jewelry to brilliant shine in mere minutes isn’t magic—it’s electrochemistry in action.
This comprehensive guide explains the science behind the aluminum foil cleaning method, provides step-by-step instructions for optimal results, identifies which jewelry types benefit from this technique (and which to avoid), and offers professional tips for maximizing effectiveness. Whether you’re rescuing thrift store treasures, maintaining heirloom silver, or simply refreshing everyday jewelry, understanding this method’s chemistry enables confident, effective cleaning.
Beyond the DIY appeal, this method offers significant advantages over traditional jewelry cleaning approaches: it’s non-abrasive (preserving metal surfaces unlike polishing), uses common household items, costs pennies per cleaning session, works remarkably fast (2-15 minutes), and proves environmentally friendly compared to chemical polishes containing harsh ingredients.
🔬 Essential Ingredient: Pure Baking Soda
For optimal results, use high-quality pure baking soda. ARM & HAMMER Pure Baking Soda 5lb provides:
- ✓ 100% pure sodium bicarbonate (no additives)
- ✓ Food-grade quality safe for all applications
- ✓ Large 5lb size perfect for multiple cleanings
- ✓ Multi-purpose: cleaning, baking, deodorizing
- ✓ Trusted ARM & HAMMER quality since 1874
Why purity matters: Generic baking sodas may contain anti-caking agents or other additives that interfere with the electrochemical reaction. Pure ARM & HAMMER ensures maximum cleaning effectiveness.
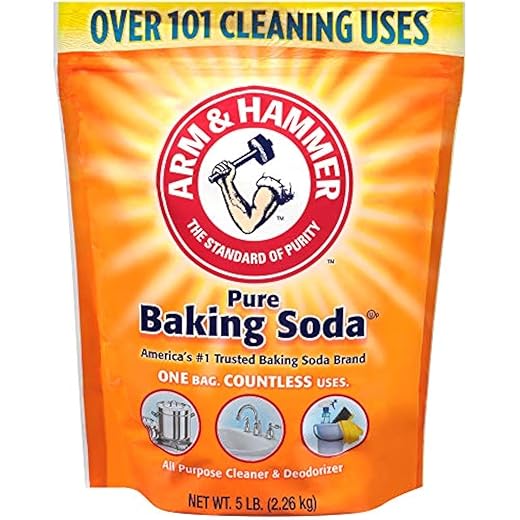
Arm & Hammer Pure Baking Soda, 5 lb
The Science Behind Aluminum Foil Jewelry Cleaning
Understanding Silver Tarnish: What Causes That Black Coating?
Silver tarnish develops through chemical reaction between silver and sulfur compounds present in air, particularly hydrogen sulfide (H₂S). This reaction creates silver sulfide (Ag₂S), a black or dark gray compound that forms on silver surfaces, obscuring the metal’s natural brilliance.
Sources of Sulfur Exposure:
- Environmental: Sulfur dioxide in polluted air, volcanic emissions, industrial areas
- Household: Rubber products, wool, certain foods (eggs, onions), latex gloves
- Personal: Skin oils and sweat contain sulfur compounds that accelerate tarnishing
- Storage: Cardboard, certain woods, and fabrics release sulfur gases
Sterling silver (925 silver—92.5% pure silver plus 7.5% other metals, usually copper) tarnishes faster than fine silver (99.9% pure) because the copper content oxidizes readily. Tarnish severity depends on exposure duration, environmental factors, and silver purity.
The Electrochemical Reaction Explained
The aluminum foil cleaning method works through electrochemical reduction—specifically, a galvanic reaction that reverses tarnish formation without physical abrasion. Here’s the chemistry:
Step-by-Step Reaction Process:
1. Setup Creates Electrochemical Cell: When aluminum foil and tarnished silver contact baking soda solution, they form a basic electrochemical cell. The baking soda (sodium bicarbonate – NaHCO₃) creates an alkaline environment and conductive medium.
2. Aluminum Oxidizes (Loses Electrons): Aluminum (Al) readily gives up electrons, oxidizing to aluminum oxide (Al₂O₃). Aluminum foil serves as the anode in this reaction.
3. Silver Sulfide Reduces (Gains Electrons): Electrons flow from aluminum through the solution to silver sulfide. Silver sulfide (Ag₂S) gains electrons, reducing back to pure silver (Ag) while releasing sulfur.
4. Sulfur Transfers to Aluminum: The sulfur atoms bond with aluminum, forming aluminum sulfide. Essentially, tarnish transfers from silver to aluminum foil—you can observe the foil becoming dark/discolored during cleaning.
Chemical Equation (Simplified):
3Ag₂S + 6NaHCO₃ + 2Al → 6Ag + 3Na₂CO₃ + Al₂O₃ + 3H₂S
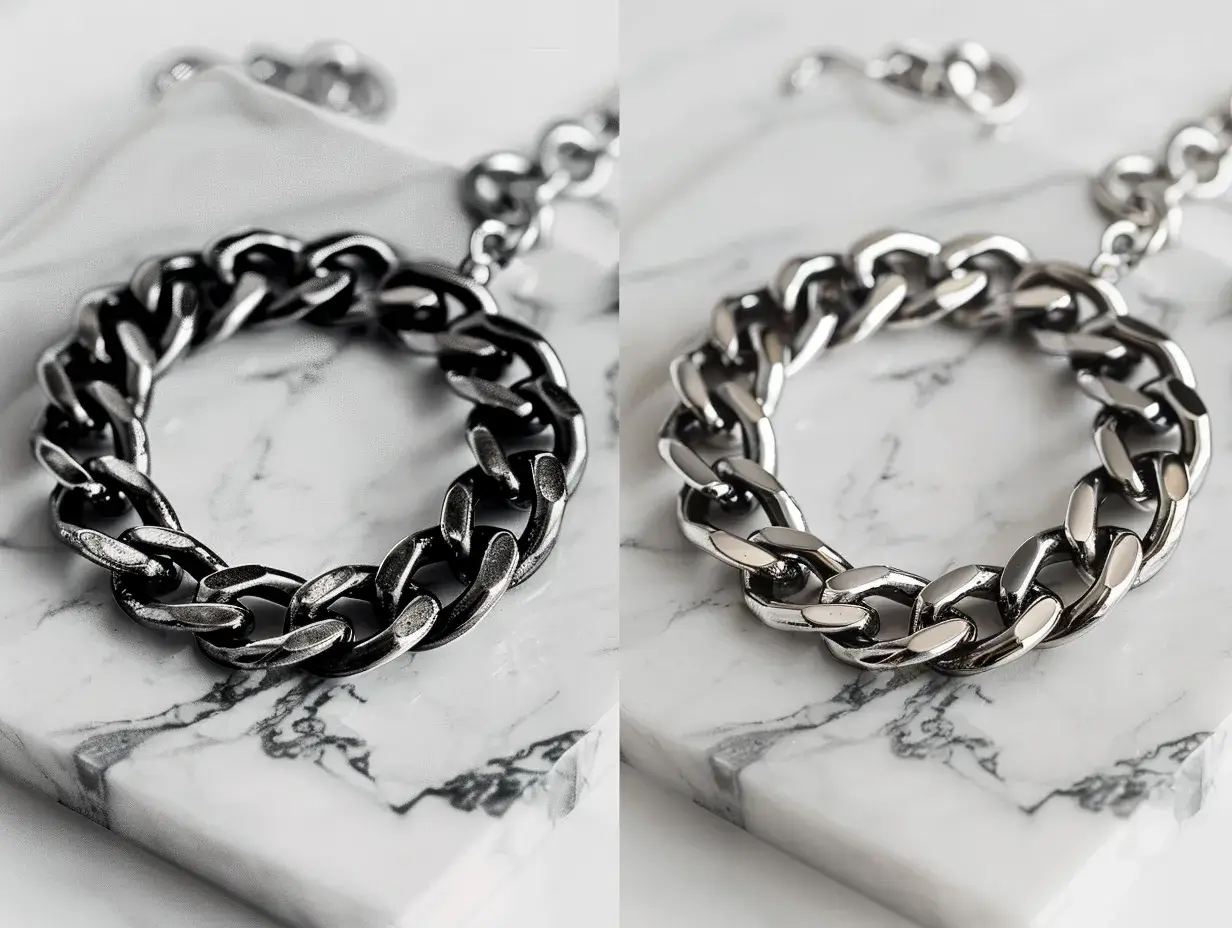
Why This Method Preserves Silver: Traditional polishing removes tarnish through abrasion—literally scrubbing away microscopically thin layers of silver along with the tarnish. Over decades, polishing gradually reduces silver thickness and dulls fine details. The electrochemical method removes only the sulfide tarnish, converting it back to silver without material loss. This preservation quality makes it ideal for antique silver, fine jewelry, and heirloom pieces.
What You Need: Complete Materials List
Essential Items (Required)
- Aluminum foil: Regular kitchen aluminum foil, any brand. Shiny side contains minimal difference from dull side—both work.
- Baking soda: Pure sodium bicarbonate. NOT baking powder.
- Heat-resistant container: Glass bowl, ceramic dish, or disposable aluminum pan. Must withstand boiling water.
- Boiling water: Freshly boiled for maximum effectiveness. Hot tap water won’t work as well.
- Tongs or non-metal utensil: For safely removing jewelry from hot solution. Never use metal spoons/forks (creates additional reactions).
- Soft cloth: Microfiber or lint-free cloth for drying and final polishing.
💎 Pro Tip: Super Washing Soda for Heavy Tarnish
For severely tarnished pieces, upgrade to ARM & HAMMER Super Washing Soda:
- ✓ More alkaline than baking soda (sodium carbonate vs bicarbonate)
- ✓ Accelerates electrochemical reaction 2-3x faster
- ✓ Removes stubborn tarnish that resists baking soda
- ✓ 100% fragrance-free and phosphate-free
- ✓ Multi-purpose for household cleaning and laundry boosting
When to use: Heavily oxidized thrift store finds, years-old untreated tarnish, large pieces requiring stronger reaction.

Optional But Recommended
- Salt: Table salt or sea salt (1-2 tablespoons). Enhances conductivity, accelerating reaction slightly
- White vinegar: Some variations include 1-2 tablespoons vinegar for additional cleaning power
- Soft-bristle toothbrush: For gently cleaning intricate details and crevices post-soaking
- Timer: Prevents over-soaking delicate items
Step-by-Step Method: Standard Aluminum Foil Cleaning
Preparation Phase
Step 1: Assess Your Jewelry
Before cleaning, carefully examine each piece:
- Identify metal type (sterling silver, solid gold, or plated—method differs for each)
- Check for loose stones that could fall out during agitation
- Note any damage requiring repair before cleaning
- Determine if intentional patina exists (some antiques shouldn’t be cleaned)
- Remove extremely delicate items for separate hand-cleaning
Step 2: Initial Pre-Clean (Optional but Recommended)
Remove surface dirt and oils before chemical cleaning:
- Mix mild dish soap with lukewarm water
- Gently clean jewelry with soft cloth or brush
- Rinse thoroughly under running water
- Pat dry—jewelry can be damp for aluminum foil method
The Aluminum Foil Method: Classic Technique
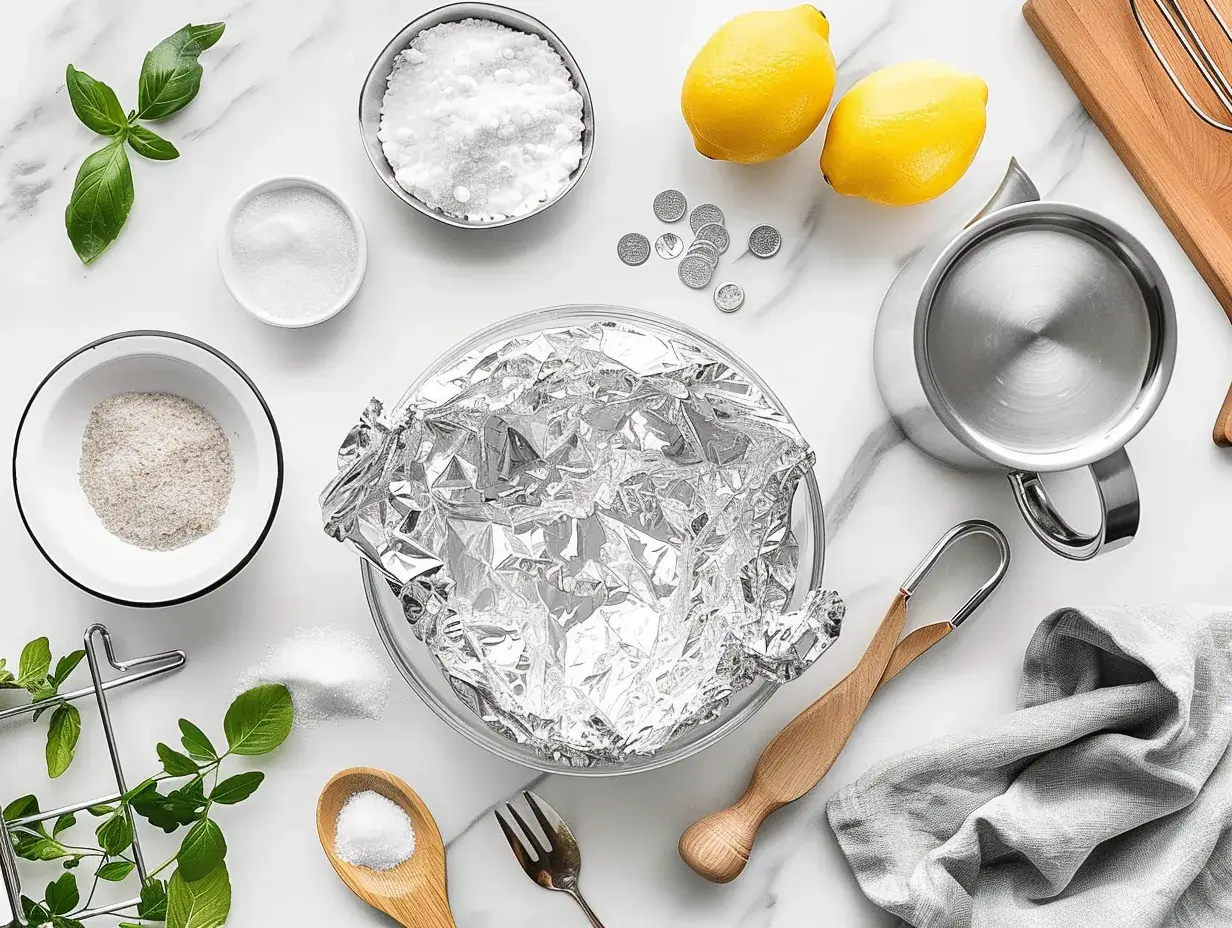
Step 3: Line Container with Aluminum Foil
- Select heat-resistant bowl large enough to submerge jewelry completely
- Tear aluminum foil sheet(s) large enough to line bowl bottom and sides
- Place foil in bowl with shiny side facing UP (though both sides work, this is traditional method)
- Smooth foil to remove large wrinkles—jewelry should make good contact
Why foil placement matters: Maximum surface contact between aluminum and jewelry creates strongest electrochemical reaction. Ensure foil covers bowl completely—tarnished jewelry touching bowl instead of foil won’t clean effectively.
Step 4: Add Baking Soda and Optional Salt
- Sprinkle 1-2 tablespoons baking soda across foil-lined bowl bottom
- Add 1-2 tablespoons salt if using (enhances conductivity)
- Distribute evenly across surface
Ratios: Basic guideline: 1 tablespoon baking soda per cup of water. Scale up proportionally for larger containers. More isn’t necessarily better—excess baking soda just creates waste.
Step 5: Arrange Jewelry on Foil
- Place tarnished jewelry directly on aluminum foil
- Ensure each piece contacts foil surface (critical for reaction)
- Don’t stack pieces—jewelry touching other jewelry instead of foil won’t clean well
- Leave small spaces between items for solution circulation
Step 6: Add Boiling Water
- Boil fresh water in kettle or pot
- Carefully pour boiling water over jewelry, covering completely
- Pour steadily but gently—don’t create splash that scatters jewelry
- Ensure 1-2 inches water depth above jewelry for full submersion
Safety note: Use caution with boiling water. Pour away from body and keep away from children and pets. Steam can cause burns.
Step 7: Observe the Reaction
Immediately upon adding boiling water, you’ll notice:
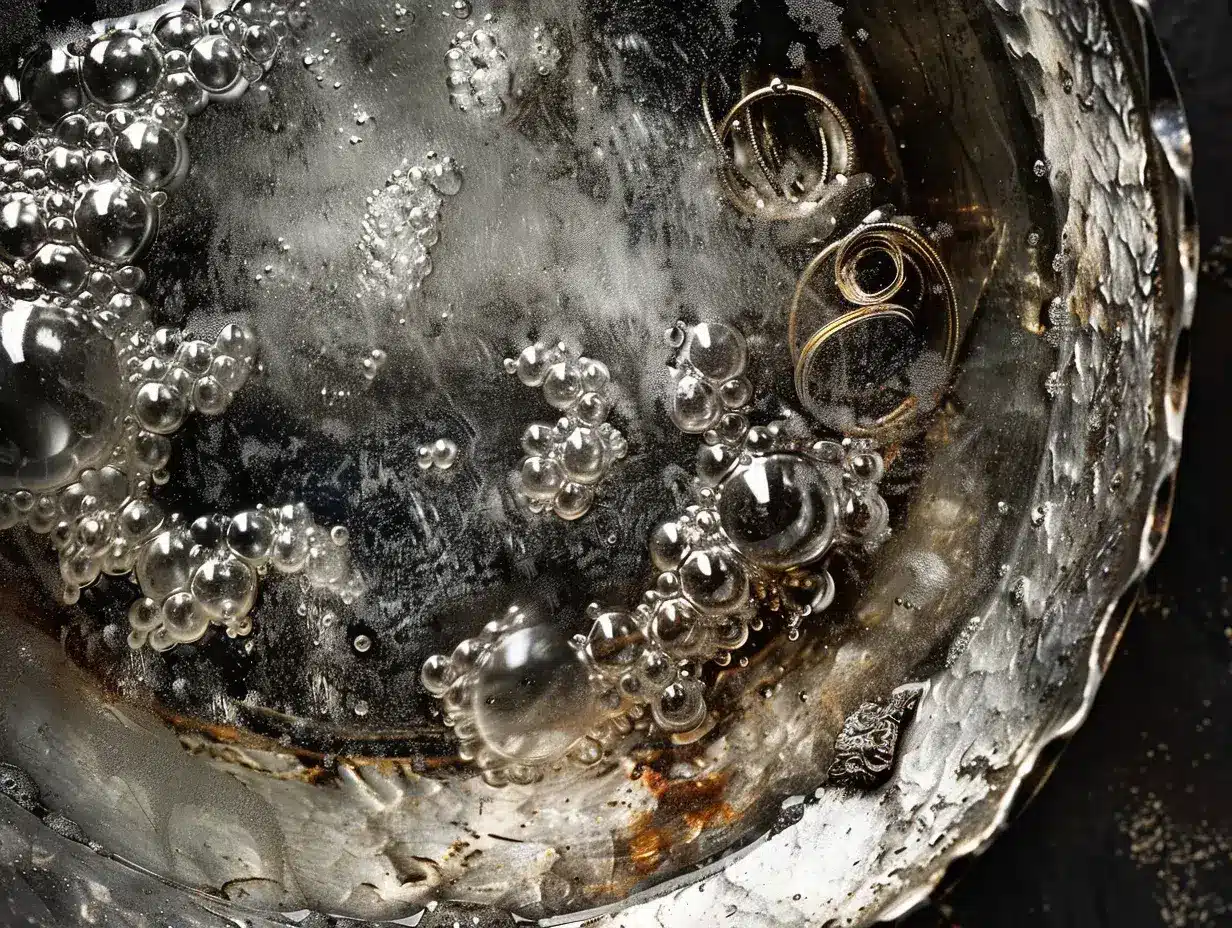
- Fizzing/bubbling action (baking soda reacting)
- Slight sulfur smell (hydrogen sulfide releasing)
- Aluminum foil beginning to darken/discolor
- Silver jewelry gradually brightening
This chemical reaction works fast—lightly tarnished jewelry shows improvement within 30 seconds. Heavily tarnished pieces require 5-15 minutes.
Step 8: Soaking Time Guidelines
- Light tarnish: 1-3 minutes
- Moderate tarnish: 3-7 minutes
- Heavy tarnish: 7-15 minutes
- Extreme oxidation: May require second treatment with fresh solution
Agitation technique: Gently move jewelry with non-metal utensil (wooden chopstick, plastic spoon) every 2-3 minutes. Flip pieces to ensure all surfaces contact solution. Avoid metal utensils which create unwanted reactions.
Step 9: Remove and Rinse
- Use tongs or non-metal utensil to remove jewelry (water remains hot)
- Immediately rinse under cool running water for 30-60 seconds
- Ensure all baking soda residue washes away (leaves white film if not rinsed thoroughly)
- For intricate pieces, use soft toothbrush under running water to remove residue from crevices
Step 10: Dry and Polish
- Pat jewelry dry with soft, lint-free cloth (microfiber ideal)
- Allow complete air drying (15-30 minutes) before wearing or storing
- For extra shine, gently buff with clean polishing cloth
- Inspect for any remaining tarnish spots requiring second treatment
✨ Professional Final Polish
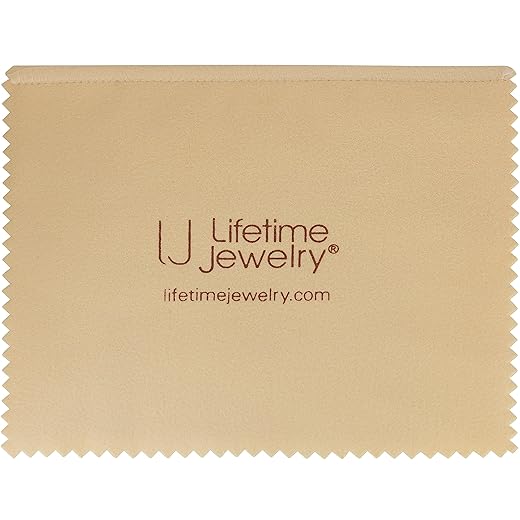
After aluminum foil cleaning, achieve jeweler-quality shine with LIFETIME JEWELRY Professional Polishing Cloth:
- ✓ Two-in-one system: white cloth cleans, beige cloth buffs
- ✓ Safe for gold and silver (rhodium plated too)
- ✓ Dry method—no messy liquids
- ✓ Reusable hundreds of times
- ✓ Portable 5″x6″ size perfect for travel
Application: After aluminum foil cleaning removes tarnish, this cloth brings jewelry to brilliant mirror shine in seconds.
Advanced Variations and Pro Techniques
The Vinegar Variation Method
Some jewelers swear by adding white vinegar to the aluminum foil method for enhanced cleaning power, particularly on heavily oxidized pieces.
Modified Procedure:
- Line bowl with aluminum foil as normal
- Add baking soda (2 tablespoons per cup water)
- Arrange jewelry on foil
- Heat white vinegar to near-boiling (or mix half vinegar, half boiling water)
- Pour hot vinegar solution over jewelry
- Extended reaction time: 2-5 minutes for vinegar method
- Rinse extremely thoroughly—vinegar residue can damage jewelry with prolonged contact
When to use vinegar variation: Extremely heavy tarnish, jewelry that hasn’t been cleaned in years, thrift store pieces with unknown history. Not recommended for regular maintenance—standard method works fine for typical tarnish.
The Boiling Method (Most Aggressive)
For maximum tarnish removal on durable pieces:
- Line large pot with aluminum foil
- Add jewelry to pot
- Add water to cover (cold water initially)
- Add 1 teaspoon baking soda + 1 teaspoon salt per cup water
- Place pot on stove and bring to rolling boil
- Boil for 2-5 minutes—watch as tarnish transfers to foil in real-time
- Remove pot from heat
- Let cool 5 minutes (still too hot to touch)
- Remove jewelry with tongs, rinse thoroughly
CAUTION: This aggressive method should only be used on durable solid silver pieces without gemstones or delicate components. Never boil jewelry containing:
- Any gemstones (thermal shock can crack stones)
- Glued components (adhesive will fail)
- Pearls or organic materials
- Gold-plated or silver-plated items (plating may separate)
- Antique pieces with weak solder joints
Wrapped Method (For Large Items)
Cleaning items too large for bowls (platters, candlesticks, serving pieces):
- Wrap item completely in aluminum foil (shiny side toward silver)
- Place wrapped item in sink, large tub, or bucket
- Prepare baking soda solution in separate container (1 cup baking soda per gallon water)
- Heat water to boiling
- Pour hot baking soda solution over foil-wrapped items until covered
- Soak 15-30 minutes
- Remove foil wrapping carefully (may be hot)
- Rinse and dry item thoroughly
What Jewelry Can (and Cannot) Be Cleaned This Way
SAFE for Aluminum Foil Method
Sterling Silver (925): Ideal candidate. This method was practically designed for sterling silver. Removes tarnish beautifully without damaging the silver-copper alloy. Safe for chains, rings, bracelets, earrings, and hollow-ware.
Fine Silver (99.9%): Works excellently though fine silver tarnishes slower than sterling. Same procedures apply.
Solid Gold (10K, 14K, 18K, 24K): Safe but less necessary—gold doesn’t tarnish significantly. Can help clean accumulated oils and dirt. Limit soaking to 2-3 minutes maximum. Gold jewelry with silver components benefits from this method.
Silver Jewelry with Hard Gemstones: Diamonds, sapphires, rubies, and other hard gemstones (Mohs 7+) tolerate the method well. Brief soaking (3-5 minutes) recommended. Check stone settings afterward to ensure prongs remain tight.
USE WITH CAUTION
Silver-Plated Items: Thin plating can be damaged by extended exposure. Test small area first. Limit soaking to 30-60 seconds maximum. Never use boiling method on plated pieces.
Gold-Plated Jewelry: Very brief soaking only (30-60 seconds). Extended exposure can strip gold plating. Alternative cleaning methods preferred for gold plate.
Jewelry with Soft Gemstones: Pearls, opals, turquoise, coral, amber, and other porous stones may absorb solution causing damage or discoloration. Hand-clean settings around these stones instead of submersion.
NEVER USE ON
Costume Jewelry: Base metals may react unpredictably. Glued components will fail. Rhinestones may cloud. Hand-cleaning only for costume pieces.
Antiques with Desired Patina: Some collectible silver pieces have intentional darkening in recesses (oxidized accents) adding character and value. Removing all tarnish removes these artistic elements.
Jewelry with Glued Components: Hot water weakens adhesives. Never soak pieces with glued stones, cameos, or decorative elements.
Watches: Water damage to movements. Clean watch bands only if truly waterproof—when uncertain, don’t risk it.
Troubleshooting Common Issues
Problem: Jewelry Didn’t Clean Completely
Possible causes and solutions:
- Insufficient contact with foil: Ensure jewelry touches aluminum throughout soaking. Reposition and repeat process.
- Water too cool: Reaction requires heat. Use freshly boiling water, not hot tap water.
- Too little baking soda: Increase to 2 tablespoons per cup water.
- Extreme tarnish: Run second treatment with fresh foil and solution.
- Not actually tarnish: Some discoloration comes from actual corrosion of base metals in alloy. This permanently alters metal and cannot be removed chemically.
Problem: White Residue on Jewelry After Cleaning
Cause: Baking soda not rinsed completely. This dried residue leaves white film in crevices.
Solution:
- Re-rinse jewelry under warm running water
- Use soft toothbrush to gently scrub crevices while rinsing
- For stubborn residue, brief soak in plain warm water (no chemicals)
- Rinse thoroughly and dry completely
Problem: Jewelry Looks Dull, Not Shiny After Cleaning
Cause: Tarnish removed but surface requires polishing for high shine.
Solution:
- Ensure jewelry is completely dry
- Buff vigorously with jewelry polishing cloth
- For maximum shine, use professional rouge cloth or jeweler’s polishing compound
💼 Upgrade to Professional Results
For jewelry requiring more than tarnish removal, CONNOISSEURS All-Purpose Jewelry Cleaning Kit provides complete professional system:
- ✓ 8oz delicate jewelry cleaner (dip formula)
- ✓ Professional dip tray and soft-bristle brush
- ✓ Gold and silver polishing cloths included
- ✓ Removes oils, cosmetics, and stubborn residue
- ✓ Ammonia-free formula safe for gemstones
Best for: Jewelry requiring deep cleaning beyond tarnish removal, intricate designs needing brush cleaning, final professional polish.

Maximizing Results: Professional Tips
Pre-Treatment Strategies
For Jewelry with Heavy Buildup:
Thick layers of skin oils, cosmetics, and lotions prevent effective tarnish removal. Pre-clean heavily soiled jewelry:
- Soak 10 minutes in warm water with dish soap
- Gently scrub with soft toothbrush
- Rinse thoroughly
- Proceed with aluminum foil method
Temperature Maintenance:
Electrochemical reaction slows as water cools. For large batches or severely tarnished items:
- Work in smaller batches to maintain water temperature
- Refresh with additional boiling water if solution cools during extended soaking
- Replace solution entirely for second treatments rather than reheating
Post-Cleaning Protection
Cleaning removes existing tarnish but doesn’t prevent future tarnishing. Maximize time between cleanings:
Protective Sealant Application:
🛡️ Prevent Future Tarnishing
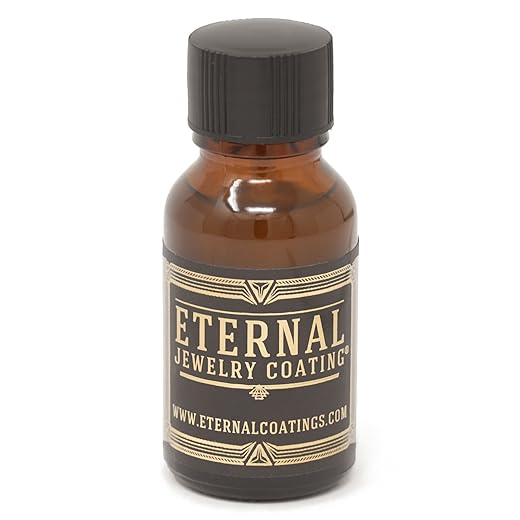
Option 1: Professional Jewelry Sealant
Eternal Jewelry Coating provides invisible molecular protection:
- ✓ Nano-ceramic bonding prevents tarnish formation
- ✓ Invisible coating maintains natural appearance
- ✓ Water and dust repellent barrier
- ✓ Easy application: brush on, wait 5 min, polish
- ✓ Lasts 2-6 months per application
- ✓ One bottle treats 100+ pieces
Option 2: Industrial-Grade Protection
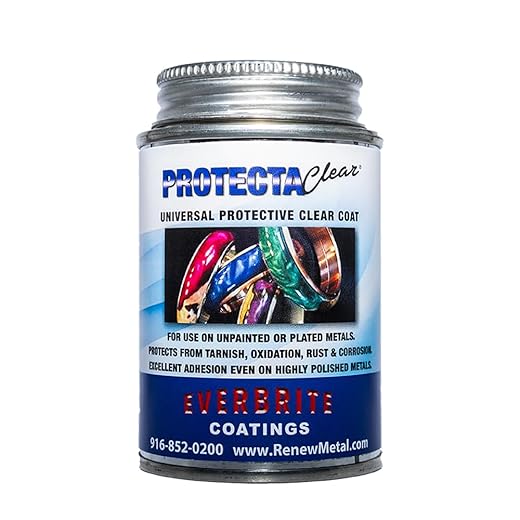
ProtectaClear Metal Coating 4oz for maximum durability:
- ✓ Professional jeweler-grade coating
- ✓ Extremely durable invisible finish
- ✓ Blocks sulfur exposure completely
- ✓ Multiple application methods available
- ✓ Food-safe and skin-safe after curing
Application timing: Apply protective coating 24 hours after cleaning to allow complete moisture evaporation.
Proper Storage Practices:
- Store jewelry in anti-tarnish bags or cloth
- Add anti-tarnish strips to jewelry boxes
- Keep in cool, dry location (60-75°F, 40-60% humidity)
- Store pieces individually to prevent scratching
- Avoid cardboard boxes and wood storage (release sulfur compounds)
- Never store in bathrooms (humidity accelerates tarnishing)
Wear and Care Habits:
- Remove jewelry before showering, swimming, exercising
- Apply cosmetics, perfumes, and lotions before putting on jewelry
- Wipe jewelry with soft cloth after each wear to remove skin oils
- Avoid contact with household chemicals, chlorine, rubber
- Remove rings before washing hands (soap accelerates tarnishing)
Environmental and Safety Considerations
Eco-Friendly Advantages
The aluminum foil method offers significant environmental benefits over commercial jewelry cleaners:
Non-Toxic Ingredients:
- Baking soda: Food-grade sodium bicarbonate, completely safe
- Aluminum foil: Recyclable metal, no chemical contamination
- Water: Pure water, no chemical additives
- Salt (optional): Standard table salt, food-grade
Compare this to commercial silver polishes containing:
- Thiourea (toxic to aquatic life)
- Ammonia (respiratory irritant)
- Sulfuric acid (corrosive, hazardous waste)
- Petroleum distillates (non-biodegradable)
Safe Disposal:
Used aluminum foil cleaning solution can be safely poured down drain—it contains only:
- Dilute baking soda (actually helps neutralize acidic drain buildup)
- Trace aluminum sulfide (minimal environmental impact)
- Water
The used aluminum foil can be:
- Rinsed and recycled with regular aluminum recycling
- Reused for one more cleaning session (effectiveness decreases but still works)
- Composted if using organic disposal methods (aluminum breaks down slowly but safely)
Safety Precautions
Burn Prevention:
- Always use caution pouring boiling water
- Pour away from body and face to avoid steam burns
- Keep children and pets away during cleaning process
- Use tongs or heat-resistant gloves when removing jewelry from hot solution
- Allow solution to cool before disposal (prevents sink or drain damage)
Ventilation:
- While generally safe, reaction releases slight sulfur smell (hydrogen sulfide gas)
- Work in well-ventilated area or near open window
- Those sensitive to sulfur odors should wear simple dust mask
Cost Analysis: DIY vs Professional Cleaning
Per-Cleaning Cost Comparison
Aluminum Foil Method:
- Aluminum foil: $0.10-0.25 per cleaning
- Baking soda: $0.05-0.10 per cleaning
- Water and energy (boiling): $0.05-0.10
- Total per session: $0.20-0.45
Commercial Silver Polish:
- Average cost: $8-15 per bottle
- Number of uses per bottle: 10-20
- Cost per cleaning: $0.50-1.50
- Plus disposal issues for toxic chemicals
Professional Jewelry Cleaning Service:
- Typical cost: $15-30 per piece
- Must travel to jeweler
- Wait time for service
- Annual cost for regular cleaning: $60-120+ per piece
Annual Savings:
Jewelry collection of 10 pieces requiring quarterly cleaning:
- Aluminum foil method: 40 cleanings x $0.30 = $12/year
- Commercial polish: 40 cleanings x $1.00 = $40/year
- Professional service: 4 cleanings x 10 pieces x $20 = $800/year
The aluminum foil method saves $28-788 annually compared to alternatives, while delivering comparable or superior results.
Frequently Asked Questions (Interactive)
Does the aluminum foil method work on all types of jewelry?
The aluminum foil cleaning method works best on solid sterling silver (925) and solid gold jewelry. It’s highly effective for removing tarnish from silver without abrasion. However, it should NOT be used on: silver-plated items (may damage thin plating), gold-plated jewelry (can strip plating with extended exposure), jewelry with porous gemstones like pearls, opals, turquoise, or coral, costume jewelry with glued components, or antique pieces with intentional patina. For solid silver and gold with hard gemstones (diamonds, sapphires, rubies), this method works excellently. Always test on inconspicuous areas first if uncertain about jewelry composition.
Why does the aluminum foil method remove tarnish?
The aluminum foil method works through an electrochemical reaction called ion exchange or galvanic reaction. Silver tarnish (silver sulfide – Ag₂S) forms when silver reacts with sulfur compounds in air. When tarnished silver contacts aluminum foil in a baking soda solution, an electrochemical cell forms. The aluminum oxidizes (loses electrons) while silver sulfide reduces (gains electrons), converting back to pure silver. The sulfur atoms transfer from the silver to the aluminum—you can observe the foil darkening as it absorbs the tarnish. The baking soda creates an alkaline environment that facilitates electron flow between the metals. This chemical process removes tarnish without physical abrasion, preserving the underlying silver unlike polishing which removes microscopic layers of metal along with the tarnish.
How often should I clean jewelry with the aluminum foil method?
Cleaning frequency depends on wear patterns, storage conditions, and environmental exposure. Daily-wear silver jewelry typically needs cleaning every 2-4 weeks as skin oils and environmental exposure accelerate tarnishing. Occasionally-worn pieces may only require cleaning every 2-3 months. Properly stored jewelry in anti-tarnish bags or with anti-tarnish strips may need cleaning just 2-3 times yearly. The key principle: clean when visible tarnish appears rather than following rigid schedules. Regular gentle cleaning prevents heavy tarnish buildup that would require aggressive methods. However, avoid over-cleaning—while this method is gentler than abrasive polishing, excessive use (more than monthly on the same piece) can eventually make metal slightly porous. Clean reactively based on appearance rather than proactively on schedules.
Can I use regular baking powder instead of baking soda?
No, baking powder cannot substitute for baking soda in this cleaning method and will not work. Baking soda (sodium bicarbonate – NaHCO₃) is essential for creating the alkaline environment and facilitating the electrochemical reaction that removes tarnish. Baking powder is a mixture containing baking soda plus acidic ingredients (cream of tartar, sodium aluminum sulfate) and cornstarch for leavening in baking. These additional ingredients interfere with the ion exchange process and prevent the electrochemical reaction from occurring. Only pure baking soda or washing soda (sodium carbonate – Na₂CO₃, which is even more alkaline) work for this jewelry cleaning method. Using baking powder produces no cleaning effect and may leave sticky residue on jewelry requiring additional cleaning to remove.
Is the aluminum foil method safe for vintage or antique jewelry?
Exercise extreme caution with vintage and antique jewelry, as several factors complicate safe cleaning. First, many antique silver pieces have intentional patina (darkening in recessed areas) that adds visual interest and collector value—removing all tarnish removes these artistic details and can actually decrease the piece’s worth. Always consult antique jewelry experts or appraisers before cleaning valuable antiques. Second, very old silver-plated items may have extremely thin plating that this method could strip completely, exposing base metal. Third, Victorian-era and Art Nouveau jewelry often contains fragile components (delicate filigree, thin wires, weak solder joints) that require gentle handling—rapid temperature changes from boiling water could cause structural damage. Fourth, many antique pieces combine multiple metals that may react unpredictably. For valuable antiques, professional conservation cleaning by specialists familiar with antique jewelry is strongly recommended. For less valuable vintage costume pieces, test on small inconspicuous areas first and use minimal soaking time (30-60 seconds maximum) while monitoring closely.
Conclusion: The Science-Backed Solution for Tarnished Jewelry
The aluminum foil jewelry cleaning method represents the perfect intersection of scientific principle, practical accessibility, and environmental responsibility. Unlike trendy “life hacks” that disappoint, this technique delivers consistently excellent results because it’s grounded in solid electrochemistry—not internet mythology.
Understanding why the method works—the electrochemical transfer of sulfur from silver to aluminum through ion exchange—empowers you to optimize technique, troubleshoot problems, and confidently clean jewelry without fear of damage. The chemical reaction removing tarnish while preserving underlying metal makes this method superior to abrasive polishing that gradually wears away silver.
The economic benefits prove substantial: spending $0.20-0.45 per cleaning session versus $15-30 for professional services creates annual savings of hundreds of dollars for jewelry collections. Environmental advantages—using food-grade, non-toxic ingredients versus hazardous chemical polishes—align with sustainable living principles without sacrificing effectiveness.
However, success requires respecting the method’s limitations. Sterling silver and solid gold respond beautifully; plated jewelry requires caution; costume pieces should never be cleaned this way. Gemstone jewelry needs individual assessment—hard stones like diamonds tolerate the method, while soft porous gems like pearls must avoid it entirely.
Combine aluminum foil cleaning with proper storage practices and protective sealant application to minimize tarnishing frequency. Your jewelry will spend more time displaying beauty and less time requiring restoration.
Master this technique today: gather aluminum foil, baking soda, and boiling water; apply the electrochemical principles outlined here; watch tarnished jewelry transform to brilliant shine. Your revitalized jewelry collection will thank you—as will your wallet and the environment.
Last Updated: December 2024 | This article contains affiliate links. As an Amazon Associate, I earn from qualifying purchases at no additional cost to you. All product recommendations are based on electrochemical principles, professional jeweler techniques, and verified effectiveness for aluminum foil jewelry cleaning. Information provided for educational purposes—always test cleaning methods on inconspicuous areas first when uncertain about jewelry composition.

Hi, I’m Sara Hein, a passionate jewelry researcher and educator. I created Jewelry Carats to share well-researched insights on gemstones, precious metals, and jewelry care. My goal is making expert jewelry knowledge accessible to everyone.