
Affiliate Disclosure: As an Amazon Associate I earn from qualifying purchases at no additional cost to you.
A Complete Beginner’s Guide
Introduction: Why Learn Jewelry Soldering?
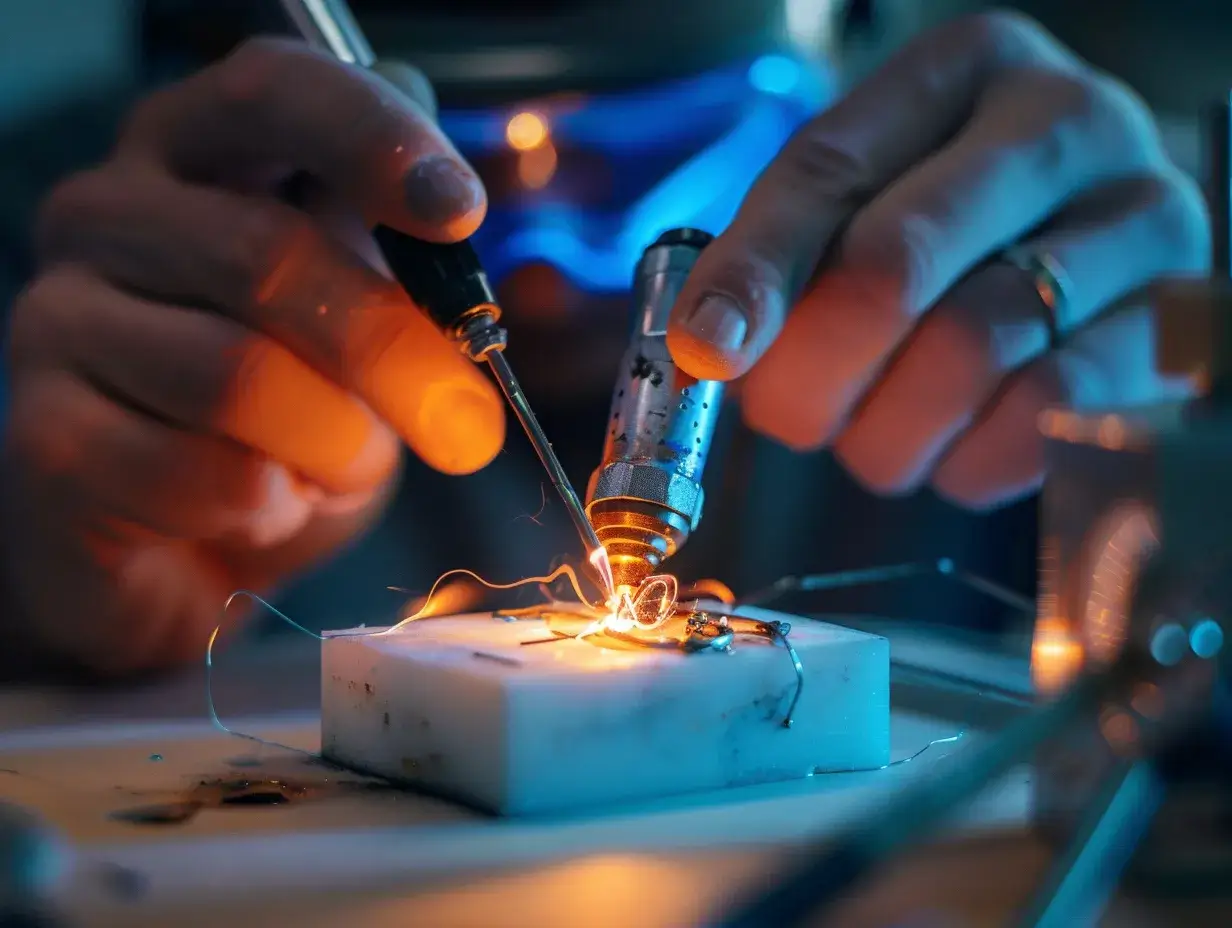
Jewelry soldering opens creative possibilities impossible through other techniques – permanently joining metal components, creating custom designs from scratch, repairing broken pieces, and transforming simple materials into professional-quality finished jewelry. This fundamental metalworking skill separates hobbyists from serious jewelry makers, enabling everything from closing jump rings securely to fabricating complex ring designs and sculptural pendants.
For beginners, soldering seems intimidating – working with open flames, melting metal at high temperatures, and risking expensive materials carries understandable anxiety. However, jewelry soldering is absolutely learnable with proper instruction, appropriate equipment, and systematic practice. Thousands of home jewelry makers successfully master soldering basics within weeks, progressing from simple repairs to intricate custom creations.
This comprehensive beginner’s guide provides everything needed to start soldering confidently and safely. We cover essential equipment and why each tool matters, detailed step-by-step soldering process with visual cues indicating success, critical safety precautions protecting you and your workspace, common beginner mistakes and how to avoid them, and progressive skill-building starting with simple projects advancing to complex techniques.
Whether aspiring to create handmade jewelry as creative outlet or side business, repair cherished heirlooms, or simply expand crafting capabilities, mastering jewelry soldering basics empowers incredible creative freedom and practical skills lasting a lifetime.
Essential Soldering Equipment
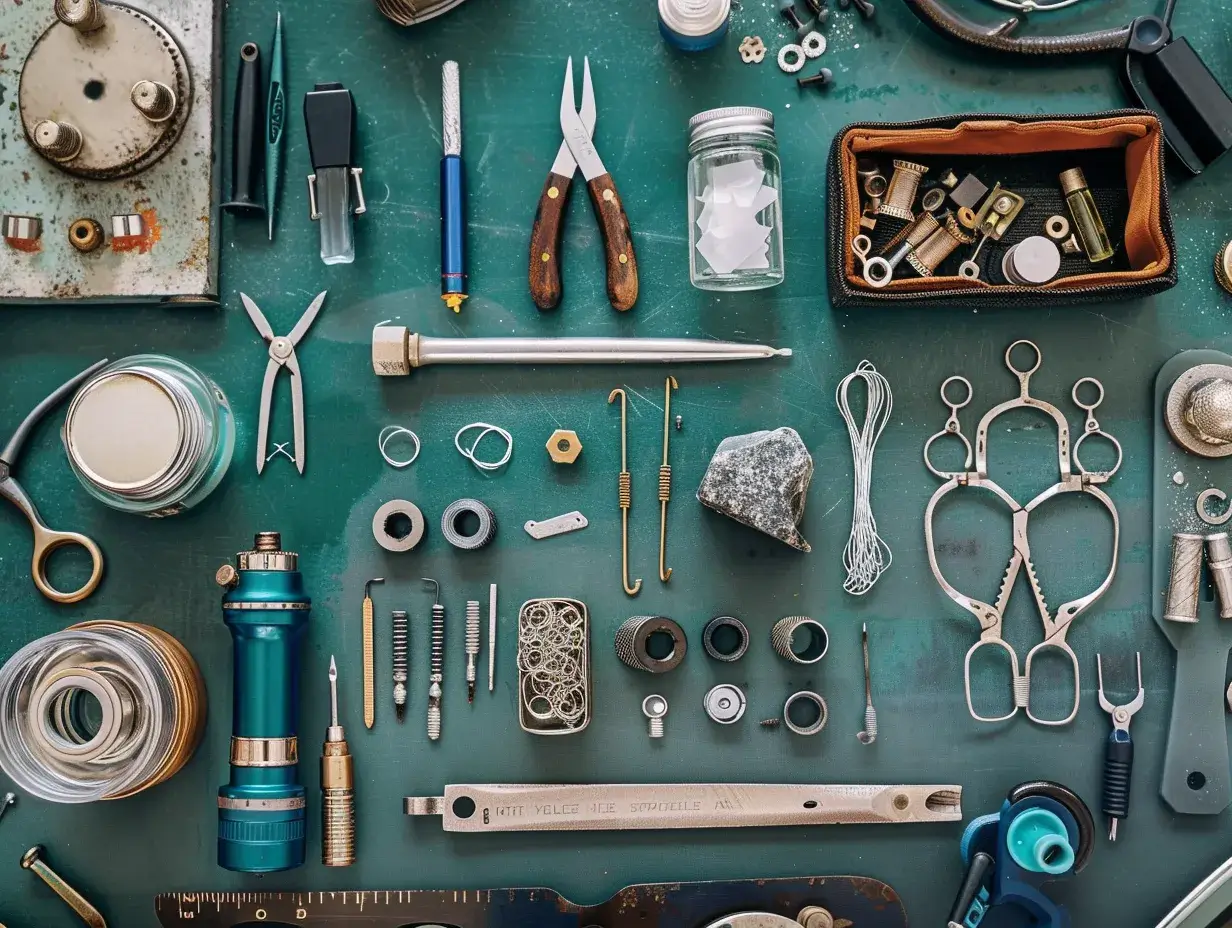
Complete Beginner Kits (Best Starting Point)
🎁 All-In-One Soldering Kits for Beginners
1. SFC Tools Jewelry Soldering Kit (Kit-1700)
- ✓ COMPLETE 15-piece beginner kit
- ✓ Mini butane torch included
- ✓ Silver solder wire (easy, medium, hard)
- ✓ Sparex pickle compound 10oz
- ✓ Handy flux paste 1/2 lb
- ✓ Magnesia soldering block
- ✓ All essential tools included
- ✓ “Soldering Made Simple” instruction book
- ✓ Ready to start immediately
2. Jewelry Soldering Kit with Butane Torch (11-Piece)
- ✓ Budget-friendly complete kit
- ✓ Butane torch with adjustable flame
- ✓ Magnesia soldering block
- ✓ Tripod with mesh screen
- ✓ Third hand with tweezers
- ✓ Silver solder wire included
- ✓ All basic tools for starting
Individual Components (For Custom Setup)
If building custom kit or upgrading existing equipment:
1. Soldering Torch (Most Important Tool)
Beginner Recommendation: Butane Micro Torch
Advantages:
- Portable – no hoses or tanks
- Affordable ($20-40)
- Precise flame control
- Perfect for small jewelry work
- Safe for home use
- Easy refueling with butane canisters
🔥 Soldering Torches
WireJewelry Starter Soldering Kit with Torch
- ✓ Butane torch head adjustable flame
- ✓ Includes firebrick soldering surface
- ✓ Liquid flux included
- ✓ Cross-lock tweezers
- ✓ Complete beginner setup
Butane Fuel (Sold Separately):
- Universal butane refill canisters
- Available at hardware stores
- $5-8 per canister (lasts many sessions)
2. Solder Wire
Silver Solder Grades:
- Hard: 1450°F melting point – first joins
- Medium: 1360°F – general purpose
- Easy: 1325°F – final joins, findings
Included in complete kits above, or purchase separately if needed.
3. Flux (Essential for Success)
Purpose: Protects metal from oxidation, promotes solder flow
Types:
- Paste flux: Thick consistency, stays in place, good for vertical surfaces
- Liquid flux: Thinner, easier application, less residue
Both included in kits. Beginners often prefer paste flux for control.
4. Soldering Surface
🔲 Fireproof Soldering Surfaces
Ceramic Honeycomb Soldering Boards (2-Pack)
- ✓ Heat-resistant to 2300°F
- ✓ Honeycomb design reflects heat
- ✓ Protects work surface
- ✓ Pin-able surface for securing work
- ✓ 2-pack provides backup
Note: Magnesia blocks included in complete kits also excellent soldering surfaces.
5. Tweezers and Handling Tools
Essential:
- Cross-locking tweezers: Hold work hands-free
- Regular precision tweezers: Position solder, handle hot metal
- Solder pick: Push/position melted solder
All included in complete kits.
6. Pickle Solution
Purpose: Removes firescale (black oxidation) after soldering
Sparex #2: Industry standard pickle compound (included in kits)
Usage: Mix with warm water in glass/ceramic container, submerge jewelry 5-15 minutes, rinse thoroughly
7. Safety Equipment (MANDATORY)
⚠️ REQUIRED Safety Equipment
1. Welding Safety Goggles Shade 5
- ✓ Protects eyes from UV light
- ✓ Shields from metal splatter
- ✓ Shade 5 appropriate for jewelry torch
- ✓ MANDATORY – never solder without
2. Heat-Resistant Gloves (1400°F rated)
- ✓ Protects hands from burns
- ✓ Essential when handling hot metal
- ✓ Flexible enough for tool use
3. Fire Extinguisher
- ✓ ABC-rated for all fire types
- ✓ Keep within arm’s reach
- ✓ Know how to operate before starting
Step-by-Step: Your First Solder Joint
Project: Closing a Jump Ring
Perfect beginner project because: Simple, quick, uses minimal solder, provides instant feedback on technique, essential skill for all jewelry making.
Preparation
- Set up workspace:
- Clear fireproof surface (metal table or ceramic tiles)
- Good ventilation (open windows)
- Good lighting
- All tools within reach
- Fire extinguisher nearby
- Gather materials:
- Sterling silver jump ring (practice on copper first if nervous)
- Tiny piece solder wire (1-2mm)
- Flux
- Torch with butane fuel
- Tweezers, solder pick
- Safety goggles ON
- Prepare jump ring:
- Close gap tightly – edges must touch perfectly
- File joint flat if needed ensuring flush fit
- Clean with rubbing alcohol removing oils
Soldering Process
- Apply flux:
- Use brush or toothpick applying thin layer to joint area
- Flux prevents oxidation, helps solder flow
- Don’t over-apply – thin coat sufficient
- Position solder:
- Place tiny solder piece (1-2mm) directly on joint
- Use tweezers for precise placement
- Solder should touch both sides of joint
- Light torch:
- Follow manufacturer instructions
- Adjust to medium flame (1-2 inches long)
- Blue inner cone should be visible
- Heat the work:
- Hold torch 1-2 inches from jump ring
- Move flame in small circles heating ENTIRE ring evenly
- Don’t focus on joint – heat whole piece
- Solder flows toward heat – even heating essential
- Watch for solder flow:
- Metal will glow slightly (dull red in dim lighting)
- Flux will bubble, turn clear, then burn off
- Solder suddenly becomes liquid and shiny
- Solder flows into joint in instant
- IMMEDIATELY remove heat when solder flows
- Cool and pickle:
- Allow jewelry to cool 30-60 seconds
- Quench in water (optional – some prefer air cooling)
- Place in pickle solution 5-15 minutes removing black oxidation
- Rinse thoroughly with water
- Dry completely
- Inspect joint:
- Solder should fill gap completely
- Joint should be smooth (file if needed)
- No gaps or holes visible
- Success = strong, permanent connection!
Common Beginner Mistakes
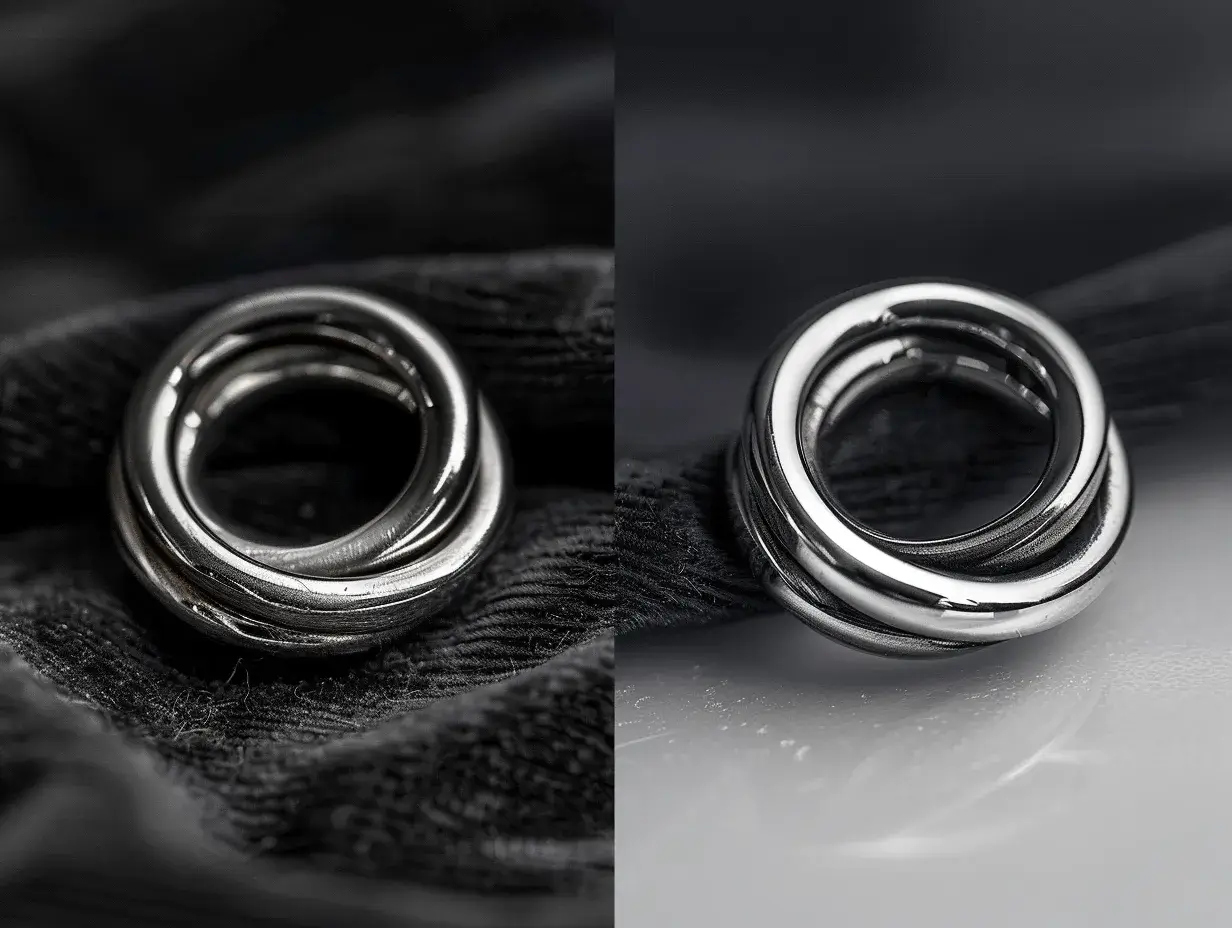
1. Insufficient Heating: Solder won’t flow because metal isn’t hot enough. Solution: Be patient, heat entire piece evenly, wait for visual cues.
2. Overheating: Metal starts melting. Solution: Remove heat immediately when solder flows. Practice recognizing the moment solder liquefies.
3. Poor Joint Fit: Gap between pieces prevents good solder bond. Solution: File joints perfectly flush before soldering. Test fit carefully.
4. Inadequate Flux: Metal oxidizes (turns black) preventing solder flow. Solution: Apply thin flux layer to all areas that will be heated.
5. Too Much Solder: Excess solder creates bulky, messy joints. Solution: Use tiny pieces – you can always add more, but removing excess is tedious.
Safety Guidelines
CRITICAL Safety Rules:
- Always wear safety goggles – torch flame emits UV damaging eyes
- Work in ventilated area – flux fumes require fresh air
- Use fireproof surface – protect workspace from heat/sparks
- Clear flammable materials – minimum 3-foot radius
- Never leave torch unattended – even for seconds
- Allow complete cooling – hot metal looks identical to cool metal
- Store butane properly – cool, dry location away from heat
- Use pickle safely – acid solution, wear gloves, use copper/plastic tongs only
- Have fire extinguisher ready – know location and operation
- Supervise children closely – if teaching minors, constant adult supervision mandatory
Practice Projects for Skill Building
Progressive Difficulty:
- Closing jump rings – master basic technique
- Attaching bails to pendants – small joins, precise placement
- Making simple rings – forming and soldering band
- Repairing broken chains – connecting chain links
- Creating earring posts – small component soldering
- Building bezels – forming and soldering settings
- Multi-piece assemblies – using different solder grades strategically
Recommendation: Practice each skill 5-10 times on inexpensive copper before moving to silver/gold.
Frequently Asked Questions
What equipment do I need to start soldering jewelry?
Essential jewelry soldering equipment for beginners: (1) Butane micro torch – controllable flame, portable, affordable ($20-40); (2) Silver solder wire – easy, medium, hard grades for different applications ($15-25); (3) Flux – protects metal, promotes solder flow (paste or liquid, $10-15); (4) Soldering surface – magnesia block or ceramic honeycomb board ($10-20); (5) Tweezers – cross-locking and regular for handling hot metal ($10-15); (6) Solder pick – titanium or steel for positioning solder ($8-12); (7) Pickle solution – removes firescale (Sparex compound, $12-18); (8) Third hand tool – holds work steady ($15-25); (9) Tripod with mesh screen – for elevated soldering ($15-20); (10) Safety gear – protective goggles, heat-resistant gloves ($15-30). Optional but recommended: copper tongs for pickle, flux brush, wire cutters, needle files. Complete beginner kits available $80-150 including most essentials. Butane fuel purchased separately ($5-8). Total startup investment: $150-250 for quality basic setup or $80-120 for budget-conscious beginner kit.
Is jewelry soldering difficult for beginners?
Jewelry soldering has moderate learning curve but is absolutely achievable for beginners with proper instruction and practice. Initial challenges: (1) Heat control – learning torch distance and timing to heat metal evenly without melting (resolves with practice, typically 5-10 attempts); (2) Solder flow – understanding how solder behaves when melted, flows toward heat (becomes intuitive after several projects); (3) Joint preparation – ensuring clean, tight-fitting surfaces for strong bonds (improves with patience and filing practice). Success factors making it easier: Clear instructions following step-by-step process, starting with simple projects (closing jump rings, attaching bails) before complex work, using proper equipment (quality torch with adjustable flame essential), adequate lighting and ventilation, practice on inexpensive metals (copper, brass) before silver/gold. Most beginners successfully complete first simple solder joint within 1-2 hours of starting. Confidence and consistency develop over 10-20 practice pieces. Common beginner mistakes: overheating (melting metal), insufficient heating (solder won’t flow), poor joint fit (weak bond), inadequate flux application. All preventable with proper technique. Recommendation: Start with complete beginner kit, follow tutorials, practice consistently, join jewelry making communities for support.
What type of solder should I use for jewelry?
Jewelry solder type depends on metal being joined and project requirements. Silver solder (most common for beginners): Three grades based on melting temperature – (1) Easy/Soft (melts 1325°F/718°C) – lowest melting point, use for final joins, repairs, attaching findings; (2) Medium (melts 1360°F/738°C) – middle temperature, versatile for general soldering, most frequently used; (3) Hard (melts 1450°F/788°C) – highest melting point, use for first joins on multi-step projects, strongest bond. Usage strategy: Start hard solder for initial joins, use medium for subsequent connections, finish with easy solder preventing previous joints from re-melting. Silver solder works on: sterling silver, fine silver, copper, brass, bronze, nickel silver. Gold solder: Match karat to project metal (14K solder for 14K gold, 18K for 18K) ensuring color match and proper melting point. Available in easy, medium, hard grades. Paste vs wire solder: Wire solder (recommended for beginners) – easier to control amount, precise placement, sees exactly where applied. Paste solder – convenient for certain applications but messier, harder to control. Beginner recommendation: Start with silver solder wire set (easy, medium, hard) providing versatility for all projects while learning. Cost: $15-30 for comprehensive set lasting many projects.
How do I prevent melting my jewelry while soldering?
Preventing metal melting during soldering requires proper heat management and technique: (1) Know melting points – Silver melts at 1640°F (893°C), solder melts 1325-1450°F (718-788°C). This 200-300°F buffer provides margin for error. Gold melting points vary by karat. (2) Heat entire piece evenly – Move torch constantly in circular motion heating whole workpiece uniformly. Solder flows toward hottest area, so even heating critical. Never focus flame on one spot. (3) Watch for visual cues – Metal shows subtle color changes before melting. Bright orange glow = approaching melting point, back off immediately. Solder flows suddenly when temperature right – looks liquid and shiny. Remove heat instantly when solder flows. (4) Proper torch distance – Keep flame 1-2 inches from work. Closer = too intense, risks melting. Farther = insufficient heat, solder won’t flow. (5) Use correct solder grade – Match solder melting point to project. Using easy solder (lowest melting point) reduces overheating risk for simple joins. (6) Adequate flux application – Flux protects metal from oxidation, promotes even heating. Insufficient flux causes hot spots. (7) Practice on scrap metal – Copper and brass excellent practice materials, much cheaper than silver/gold. Learn heat control without expensive mistakes. (8) Start with small torch – Micro butane torch easier to control than larger propane setups. Build skills before upgrading. If metal starts melting: Remove heat immediately, let cool completely, file away melted area if salvageable, restart process with better heat control.
Is soldering jewelry safe at home?
Yes, jewelry soldering is safe at home when proper precautions followed. Essential safety measures: (1) Work area setup – Use fireproof surface (metal table, ceramic tiles, concrete). Clear all flammable materials 3+ feet radius from torch. Never work near curtains, papers, or combustibles. Ensure stable work surface preventing spills/falls. (2) Ventilation critical – Open windows providing cross-breeze. Use exhaust fan if available. Flux fumes and heated metal vapors require fresh air circulation. Outdoor work ideal for beginners. Never solder in closed room. (3) Fire safety – Keep fire extinguisher (ABC rated) within reach. Have water container for quenching hot metal. Never leave lit torch unattended even briefly. Store butane fuel away from heat sources. (4) Personal protective equipment – Safety goggles (NOT sunglasses) protecting from UV light and metal splatter – MANDATORY. Heat-resistant gloves when handling hot metal/tools. Long sleeves and pants protecting from sparks. Tie back long hair. (5) Torch safety – Read manufacturer instructions completely. Check connections before lighting. Adjust flame away from body/flammables. Turn off torch immediately after use. Allow complete cooling before storage. (6) Chemical safety – Pickle solution is acid – use in well-ventilated area, wear gloves, use only copper/plastic tongs (steel neutralizes pickle). Never add water to acid. Rinse pickled items thoroughly. (7) Supervision for minors – Children should solder only with adult supervision, proper training, and age-appropriate tasks. Hazards if ignored: Burns from hot metal/torch (most common beginner injury), fire from improper torch use/storage, eye damage from bright flame without protection, respiratory issues from poor ventilation, chemical burns from pickle mishandling. Reality: Thousands safely solder at home following guidelines. Proper setup and attention = safe, rewarding hobby.
Conclusion
Jewelry soldering empowers creative freedom transforming simple materials into permanent, professional-quality finished pieces. While initially intimidating, this fundamental skill becomes intuitive with proper instruction, appropriate equipment, and consistent practice. Starting with complete beginner kit eliminates guesswork providing all essential tools immediately, following step-by-step process on simple projects builds confidence before advancing complexity, prioritizing safety through protective equipment and proper workspace setup ensures enjoyable, injury-free learning experience.
Remember: Every expert jeweler started exactly where you are now – nervous about first torch lighting, uncertain about heat control, worried about melting expensive metal. The difference between beginners and masters is simply practice and persistence. Your first solder joints may be imperfect, but each attempt teaches valuable lessons about heat management, solder behavior, and metal properties. Practice on inexpensive copper and brass developing technique before moving to precious metals minimizing costly mistakes while building essential skills.
Key success factors: Invest in quality basic equipment (complete kit provides best value), prioritize safety always (goggles, ventilation, fire extinguisher non-negotiable), start simple progressing gradually (master jump rings before attempting complex assemblies), practice regularly maintaining skill development, join jewelry making communities for support and inspiration, embrace mistakes as learning opportunities rather than failures.
Your jewelry soldering journey begins with single small flame, tiny piece of solder, and willingness to learn. Armed with knowledge from this guide, proper equipment, and commitment to practice, you’ll soon confidently create beautiful, permanent metal connections opening unlimited creative possibilities. Welcome to the rewarding world of jewelry metalsmithing – your first perfect solder joint awaits!
Last Updated: December 2024 | This article contains affiliate links. As an Amazon Associate, I earn from qualifying purchases at no additional cost to you.

Hi, I’m Sara Hein, a passionate jewelry researcher and educator. I created Jewelry Carats to share well-researched insights on gemstones, precious metals, and jewelry care. My goal is making expert jewelry knowledge accessible to everyone.