
Affiliate Disclosure: As an Amazon Associate I earn from qualifying purchases at no additional cost to you.
Polymer Clay vs Traditional Ceramics
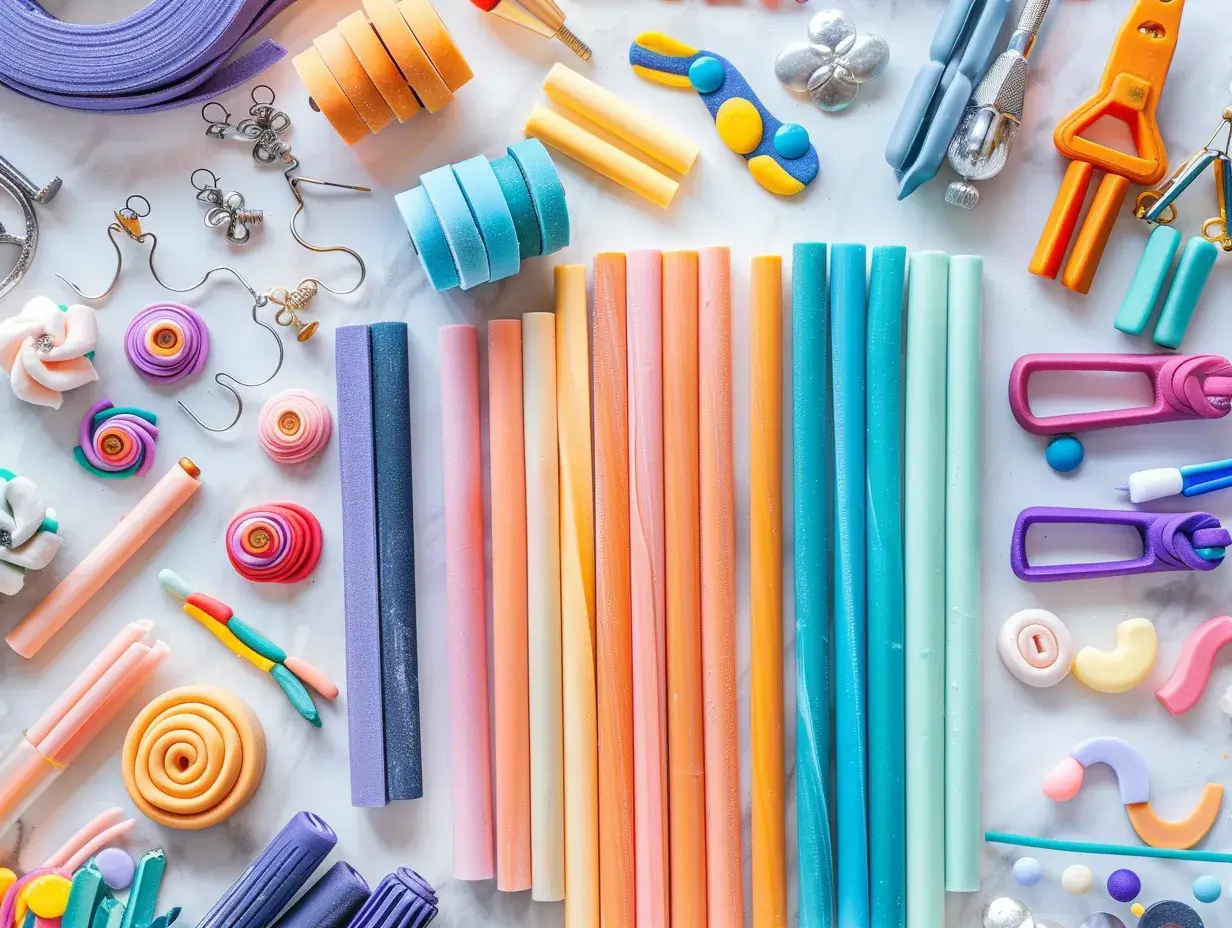
Polymer clay enables beautiful ceramic-style jewelry creation without expensive kilns, specialized studios, or years of training. This versatile modeling compound bakes in regular home ovens at 275°F, stays workable indefinitely before baking, and holds intricate details rivaling professional ceramics. Unlike traditional clay requiring $500+ kiln investment and technical firing knowledge, polymer clay empowers immediate jewelry making with $30-50 starter kit and kitchen oven.
This guide teaches complete polymer clay jewelry making from absolute beginner to finished wearable pieces: essential supplies and budget-friendly alternatives, fundamental techniques (conditioning, shaping, baking), step-by-step earring creation tutorial, finishing techniques creating professional appearance, and common mistakes preventing success.
Essential Supplies for Polymer Clay Jewelry
Complete Beginner Kits (Best Value)
🎨 Complete Starter Kits
1. Sculpey Liquid Polymer Clay Jewelry Making Kit
- ✓ Complete beginner solution
- ✓ Liquid Sculpey clay included
- ✓ Reusable jewelry mold (16 shapes)
- ✓ All findings included (jump rings, cords, hooks)
- ✓ Mix-ins (glitter, dried flowers)
- ✓ Step-by-step instructions
- ✓ Makes bracelet, earrings, necklace, keychain

Sculpey Liquid Polymer Clay Jewlery Making Kit. Includes 1 oz Clear, Clay Tools, Dried Flowers, Glitter and jewlery findings for Jewelry Making Fun!
2. Polymer Clay Earring Making Kit (640+ Pieces)
- ✓ 24 vibrant clay colors
- ✓ 30 stainless steel cutters
- ✓ 640 earring accessories (posts, hooks, backs)
- ✓ Clay modeling tools included
- ✓ Roller, pliers, glue
- ✓ Step-by-step instructions
- ✓ Everything for complete earrings
Polymer Clay Options
🎨 Quality Polymer Clay
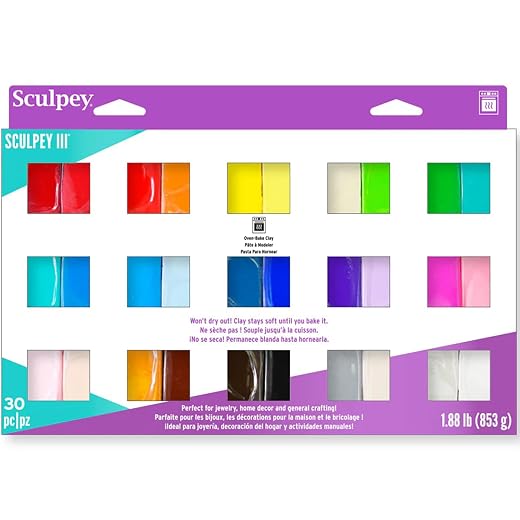
1. Sculpey III 30-Color Sampler Pack
- ✓ 30 vibrant colors (1oz each)
- ✓ Soft, beginner-friendly texture
- ✓ Perfect for learning techniques
- ✓ Stays soft until baked
- ✓ Non-toxic, safe for all ages
- ✓ Mix colors for custom shades
2. Sculpey Premo 24-Color Sampler
- ✓ Premium professional-quality clay
- ✓ 24 densely saturated colors
- ✓ Stronger, more durable than Sculpey III
- ✓ Holds fine detail perfectly
- ✓ Flexible when cured
- ✓ Best for advanced techniques

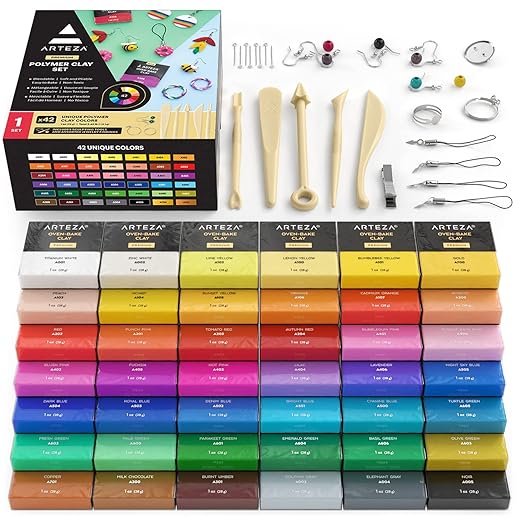
3. ARTEZA Polymer Clay 42-Color Kit with Tools
- ✓ 42 vibrant clay bars
- ✓ 5 sculpting tools included
- ✓ Retains color vibrancy after baking
- ✓ Soft, easy to mold
- ✓ Won’t stain hands
Essential Tools
🛠️ Clay Working Tools
1. 14-Piece Polymer Clay Tool Set
- ✓ 2 acrylic rollers (solid + hollow)
- ✓ 4 thickness rings for even rolling
- ✓ 2 tissue blades with protective cases
- ✓ 4 dotting tools (texture/holes)
- ✓ Wire texture tool
- ✓ Needle detail tool
- ✓ Complete toolset for jewelry

2. Sculpey Round Bead Maker Tool
- ✓ Creates perfectly round beads
- ✓ 3 sizes: 13mm, 16mm, 18mm
- ✓ Includes measuring cups
- ✓ Consistent bead sizes every time
- ✓ Professional-looking results

Finishing Supplies
✨ Protective Coating
- ✓ High-gloss protective finish
- ✓ Prevents scratches and wear
- ✓ Waterproof when dry
- ✓ Won’t yellow or crack
- ✓ 24-hour cure time

Step 1: Conditioning Polymer Clay
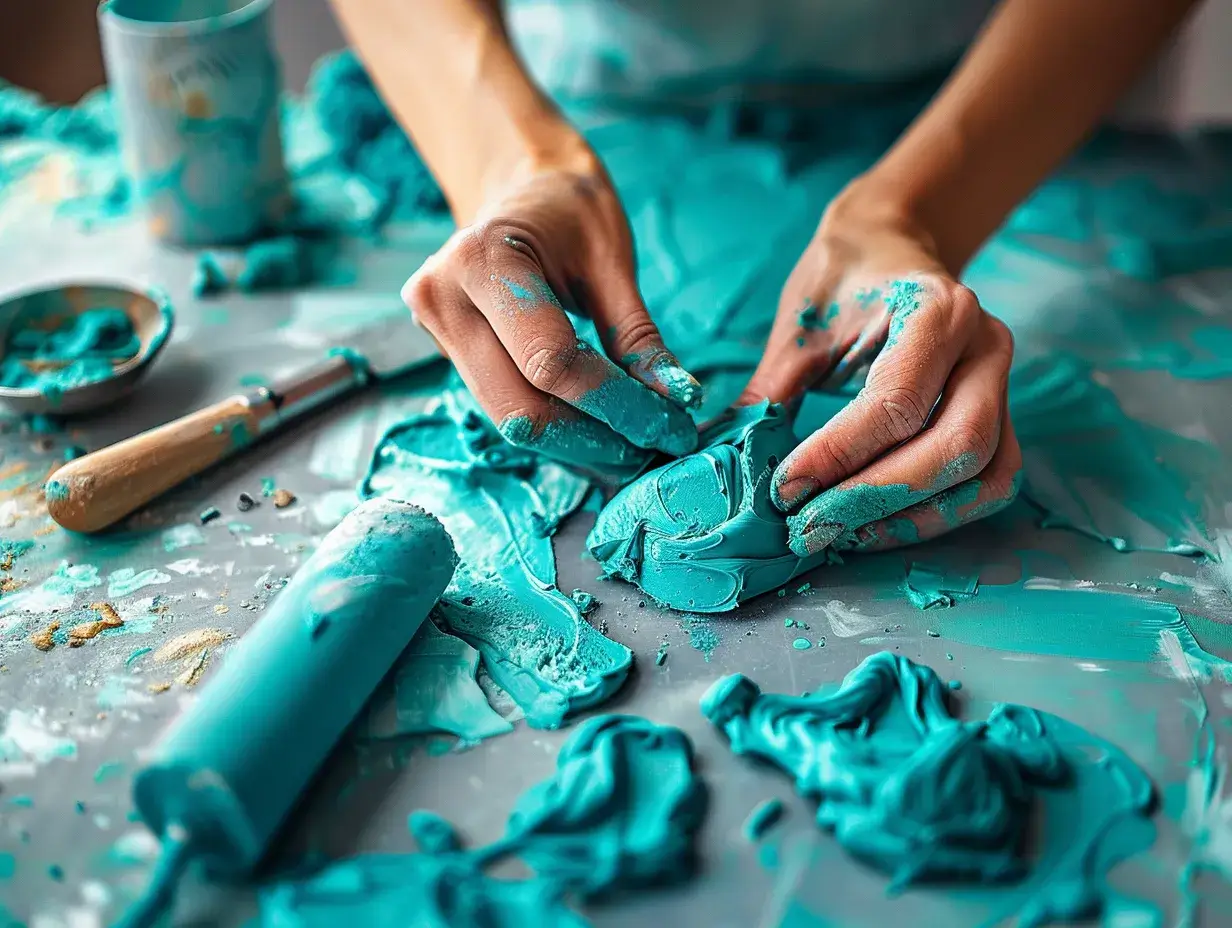
Why Conditioning Necessary: Fresh polymer clay often stiff – conditioning makes clay soft, pliable, removes air bubbles, creates uniform texture.
Conditioning Methods
Method 1: Hand Conditioning (Beginner)
- Cut or pinch small amount clay (easier to work than large chunks)
- Knead like bread dough: fold, press, rotate
- Continue 5-10 minutes until clay warm and pliable
- Clay ready when rolls smoothly without cracks
Tips: Warm clay easier to condition – hold in hands few minutes before starting. Very stiff clay? Use pasta machine or add clay softener drops.
Step 2: Creating Simple Earring Shapes
Rolling Clay to Even Thickness
- Place conditioned clay on work surface (smooth cutting board, silicone mat, parchment paper)
- Use roller achieving uniform thickness: Roll in multiple directions, use thickness guides (cards, ruler guides), aim for 1/8 to 1/4 inch thick (jewelry thickness)
- Check thickness – should be even across entire sheet
Cutting Shapes
Using Cutters:
- Press cutter straight down firmly
- Twist slightly releasing shape
- Lift away excess clay
- Remove cut shape gently with blade
Popular Earring Shapes:
- Circles (classic, versatile)
- Ovals (elegant)
- Teardrops (feminine)
- Geometric (modern – triangles, hexagons)
- Organic shapes (freehand cutting)
Adding Details
Texture Options:
- Stamps (commercial or found objects)
- Toothpick (dots, lines, patterns)
- Fabric texture (press lace, burlap)
- Blade marks (stripes, hatching)
Creating Holes:
- Use toothpick, skewer, or needle tool
- Pierce BEFORE baking
- Make hole slightly larger than jump ring wire
- Gently twist removing tool (prevents distortion)
Step 3: Baking Polymer Clay
Baking Guidelines
Temperature: 275°F (135°C) for most brands (check package)
Time: 15 minutes per 1/4 inch thickness
Example: 1/8 inch earrings = 15 minutes, 1/4 inch pendant = 15 minutes, 1/2 inch thick bead = 30 minutes
Baking Process
- Preheat oven to correct temperature (use oven thermometer – oven dials often inaccurate)
- Prepare baking surface: ceramic tile, parchment-lined baking sheet, index cards
- Arrange clay pieces with space between (not touching)
- Tent with aluminum foil (prevents darkening/browning)
- Bake for recommended time – don’t underbake (weak pieces)
- Cool completely before handling (clay hardens as cools)
Baking Safety
- Ventilate: Open window or run fan (slight smell normal)
- Don’t overbake: Darkening/burning releases stronger fumes
- Clean oven: Wipe surfaces after baking
- Dedicated toaster oven: Optional if prefer separating clay from food prep
Step 4: Finishing and Assembly
Sanding and Smoothing
Optional but Professional:
- Use fine-grit sandpaper (400-1000 grit)
- Wet-sand under running water
- Smooth rough edges
- Buff with soft cloth for shine
Applying Protective Glaze
- Ensure pieces completely clean and dry
- Apply thin coat glaze with brush
- Let dry 24 hours (follow product instructions)
- Apply second coat if desired (deeper shine)
Attaching Jewelry Findings
For Earrings:
- Open jump ring using two pliers (twist sideways, don’t pull apart)
- Thread through hole in clay piece
- Add earring hook
- Close jump ring securely (no gap)
For Posts:
- Use E6000 or jewelry adhesive
- Apply small amount to earring post
- Press firmly to back of clay piece
- Let cure 24 hours before wearing
Design Ideas for Polymer Clay Jewelry
Beginner-Friendly Designs
- Solid color circles: Simple, elegant, quick
- Marbled effect: Twist two colors together, roll out
- Stamped texture: Single color with decorative impression
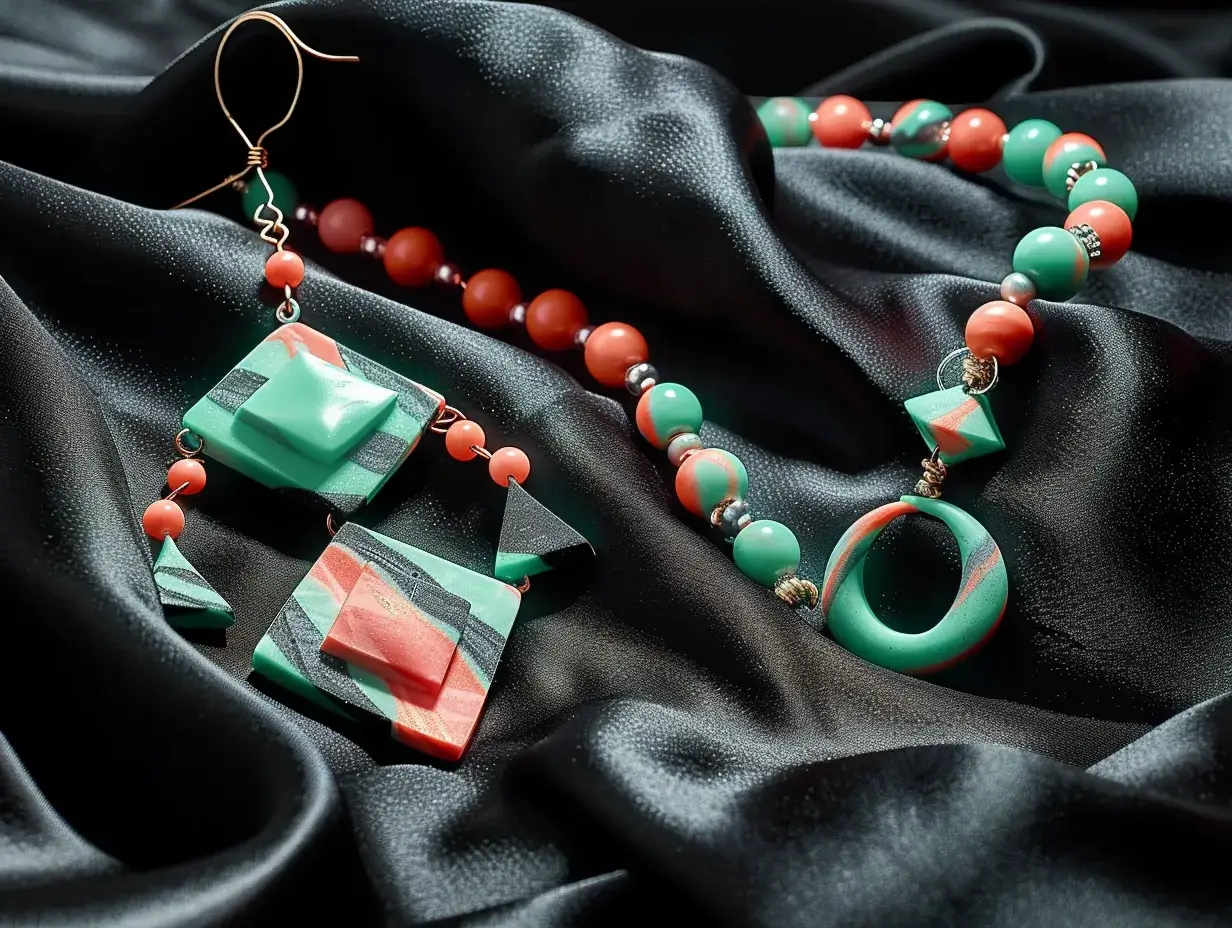
- Geometric shapes: Modern minimalist aesthetic
Intermediate Techniques
- Color blocking: Combine different colored sections
- Layering: Stack thin clay pieces for dimension
- Caning: Create pattern, reduce, slice (advanced)
- Metallic accents: Add gold leaf or metallic clay
Common Mistakes to Avoid
1. Insufficient Conditioning: Stiff clay cracks during shaping. Solution: Knead thoroughly until pliable.
2. Uneven Thickness: Thin areas break easily, thick areas underbake. Solution: Use thickness guides when rolling.
3. Underbaking: Weak, flexible pieces that break easily. Solution: Full baking time per thickness, use oven thermometer.
4. Overbaking: Darkening, brittleness, burnt smell. Solution: Tent with foil, check temperature accuracy, set timer.
5. Fingerprints/Dust: Clay surface shows every imperfection. Solution: Work with clean hands, cover work area, use gloves if needed.
6. Holes Too Small: Can’t attach findings after baking. Solution: Make holes larger than needed (clay shrinks slightly).
Frequently Asked Questions
What is polymer clay and is it the same as ceramic?
Polymer clay is NOT traditional ceramic – it’s a modeling compound made from PVC resin that bakes in home ovens at low temperatures (275°F). Traditional ceramics require kiln firing at 1800°F+. Polymer clay advantages: Bakes in regular home oven (no expensive kiln needed), stays workable indefinitely until baked (no drying out), available in rainbow of pre-mixed colors, holds fine detail perfectly, lightweight finished pieces, beginner-friendly. Popular brands: Sculpey (soft, easy for beginners), Premo (stronger, professional quality), Fimo (European brand, firm texture). Despite name, polymer clay jewelry looks and feels similar to ceramic when finished – smooth, solid, durable. Often called ‘ceramic-style’ jewelry due to appearance. Bottom line: Polymer clay = accessible ceramic-look jewelry making without expensive equipment.
Do I need a kiln to make polymer clay jewelry?
NO kiln needed! Polymer clay bakes in regular home kitchen oven. This is polymer clay’s biggest advantage over traditional ceramics. Baking requirements: Temperature: 275°F (135°C) for most brands, Time: 15-30 minutes depending on thickness (15 min per 1/4 inch thickness), Use: Regular kitchen oven or toaster oven. Baking tips: Use oven thermometer (oven temperatures often inaccurate), Place clay pieces on ceramic tile or parchment-lined baking sheet, Tent with aluminum foil preventing browning, Don’t overbake (causes brittleness and darkening). Safety: Polymer clay non-toxic when baked at correct temperature, Adequate ventilation during baking (slight smell normal), Clean oven surfaces after use (though clay won’t contaminate food). Equipment cost: Zero additional cost if own oven, Toaster oven $30-50 if prefer dedicated clay oven. This accessibility makes polymer clay perfect for beginners – start creating jewelry TODAY in home kitchen without $500+ kiln investment required for traditional ceramics.
What supplies do I need to start making polymer clay jewelry?
Essential beginner supplies (under $50 startup): MUST-HAVE: Polymer clay (2-5 colors to start) – $10-15 for sampler pack. Clay tools OR household items – rolling pin/acrylic roller, blade/craft knife, toothpicks for detail. Jewelry findings – earring posts/hooks, jump rings. Baking surface – ceramic tile or parchment paper. RECOMMENDED ADDITIONS: Complete starter kit ($30-40) – includes clay, tools, findings, instructions – most economical option. Cutters – cookie cutters or clay cutters for shapes. Glaze/varnish – protective coating (optional). Work surface – smooth cutting board or silicone mat. NOT NEEDED INITIALLY: Pasta machine (clay conditioning), Expensive specialty tools, Large clay collections, Professional equipment. Budget options: Use household items: drinking glass as roller, butter knife as blade, cardboard as work surface. Start with 1-2 clay colors, expand collection as skills develop. Single complete kit more economical than buying supplies individually. Realistic startup: Minimal: $15-20 (basic clay + household items), Recommended: $30-50 (complete kit with everything), Professional: $100+ (premium clay, specialized tools, extensive colors). Most beginners succeed with $30-40 complete starter kit providing everything needed for first 10-20 jewelry pieces while learning techniques.
How long does polymer clay jewelry last?
Properly made polymer clay jewelry lasts DECADES with minimal care. Durability factors: Correct baking – fully cured clay extremely durable, won’t degrade over time. Proper thickness – pieces 1/4 inch+ thick very strong, thin delicate areas more fragile. Quality clay – premium brands (Premo, Fimo) stronger than craft-grade. Protective coating – varnish optional but adds scratch resistance. Expected lifespan: Earrings (minimal stress): 10+ years daily wear, Pendants/necklaces: 15-20+ years, Bracelets (higher stress): 5-10+ years depending on design, Decorative pieces (no wear): Indefinitely. Common issues and prevention: Breakage – avoid thin delicate designs, reinforce stress points. Discoloration – store away from direct sunlight. Surface scratches – apply protective glaze. Comparison to other materials: More durable than: Air-dry clay (polymer doesn’t crack), costume jewelry (polymer colorfast). Less durable than: Metal jewelry, gemstones, glass. Similar to: Resin jewelry, acrylic pieces. Care tips extending lifespan: Remove before water exposure (though polymer waterproof, findings may tarnish), Store in jewelry box preventing scratches, Clean with damp cloth (no harsh chemicals), Avoid extreme heat (above 200°F can soften). Real-world evidence: Well-made polymer clay jewelry from 1990s-2000s still wearable today, Professional artists report customer pieces lasting 15-20+ years. Bottom line: Polymer clay jewelry properly made = long-lasting, durable pieces comparable to commercial jewelry quality.
Conclusion
Polymer clay jewelry making democratizes ceramic-style jewelry creation – accessible, affordable, achievable for absolute beginners. Unlike traditional ceramics requiring expensive kilns and years of training, polymer clay enables immediate creative expression with $30-50 starter kit and home oven. Master fundamental techniques – proper conditioning creating workable clay, even rolling and clean cutting creating professional shapes, correct baking ensuring durability, and finishing techniques achieving polished appearance – and progress from first simple earrings to sophisticated jewelry designs.
Success factors: Start with complete beginner kit (most economical, includes everything), practice on simple shapes before complex designs, follow baking instructions precisely (temperature and time critical), and embrace experimentation (clay forgiving, mistakes become learning opportunities). The beauty of polymer clay lies in its approachability – mistakes fixable, techniques learnable, and results impressive even for beginners.
Begin your polymer clay jewelry journey today – create personalized earrings, unique pendants, or thoughtful handmade gifts. With patience and practice, handmade ceramic-style jewelry becomes rewarding creative outlet and potentially profitable craft business!
Last Updated: December 2024 | This article contains affiliate links. As an Amazon Associate, I earn from qualifying purchases at no additional cost to you.

Hi, I’m Sara Hein, a passionate jewelry researcher and educator. I created Jewelry Carats to share well-researched insights on gemstones, precious metals, and jewelry care. My goal is making expert jewelry knowledge accessible to everyone.